
Build and Preview a Next.js App in an OpenPond Project
This walkthrough starts with a deliberately small Next.js application: one heading, OpenPond Hosted App, and one link to openpond.ai. The application is small enough that the interesting part remains visible: how local source becomes a Project commit, how that commit becomes an immutable release, and how OpenPond can add a server-side runtime and PostgreSQL without putting credentials in the browser.
The complete example is public at github.com/openpond/openpond-hosted-app-example.
The deployment model
OpenPond keeps development, source control, and production releases separate:
- A local repository is where you edit and test the application.
- An OpenPond Project records the source and its Git-backed commits.
- A Sandbox is an isolated development environment attached to a Project.
- A website release is an immutable build of one Project commit.
- An account database is a managed PostgreSQL database available to authorized Projects, Sandboxes, and website backends in the account.
Uploading source does not deploy it. Building a release does not make it public. OpenPond changes production traffic only when you activate a release that has reached Ready.
1. Clone and run the example locally
Clone the public repository instead of copying code from this article:
git clone https://github.com/openpond/openpond-hosted-app-example.git
cd openpond-hosted-app-example
pnpm install
pnpm dev
Open http://localhost:3000. You should see the centered title and a Visit
OpenPond button. The button is an ordinary link to https://openpond.ai; the
page has no client-side JavaScript or database dependency.
The page component is intentionally direct:
export default function Home() {
  return (
    <main>
      <div className="content">
        <h1>OpenPond Hosted App</h1>
        <a href="https://openpond.ai">Visit OpenPond</a>
      </div>
    </main>
  );
}
The repository contains both normal Next.js source and the scripts used to prepare the release:
app/
  layout.tsx
  page.tsx
  styles.css
dist/
release/
  server.mjs
scripts/
  build-release.mjs
  verify-release.mjs
openpond.release.json
package.json
Before uploading, run the same checks used to prepare the example:
pnpm typecheck
pnpm release:build
pnpm release:verify
release:build creates the optimized Next.js output and exports the static site
to dist. It also prepares the self-contained runtime files under release.
release:verify checks that the files named by the release contract exist and
that the generated page contains the expected application title.
This example commits dist and release because it uses a prebuilt deployment.
The remote builder validates files already present in the selected commit rather
than downloading packages from the public internet.
2. Declare the release contract
The repository root contains openpond.release.json:
{
  "version": 1,
  "dependencyMode": "none",
  "buildCommand": "node scripts/verify-release.mjs",
  "staticOutputDirectory": "dist",
  "runtimeOutputDirectory": "release",
  "startCommand": "node release/server.mjs",
  "targetPort": 3000,
  "readinessPath": "/health",
  "migrationCommand": null,
  "requiredBindings": {
    "accountDatabase": false
  }
}
Each field affects the deployment:
dependencyMode: "none"says the commit already contains its release output.buildCommandvalidates those committed artifacts in the isolated builder.staticOutputDirectorycontainsindex.htmland assets served at the edge.runtimeOutputDirectoryis the self-contained server artifact. It cannot depend on the source tree or a localnode_modulesdirectory.startCommand,targetPort, andreadinessPathtell OpenPond how to start and probe the server before the release can become ready.requiredBindings.accountDatabaseisfalsebecause this example does not query PostgreSQL.
A deployment is tied to the exact uploaded commit. Dirty or uncommitted local files are not part of that deployment.
3. Select the account and create the Project
Every Project belongs to a team because the team is the authorization and billing boundary. You do not need to create a separate collaborative team for this tutorial: a normal OpenPond account already has a personal default team. Use another team only when the Project should be owned and billed by that shared workspace.
Authenticate the OpenPond CLI and list the teams available to your account:
openpond organizations listUse the selected team ID when creating or querying Projects:
openpond project list --team-id <team-id>
openpond project create --team-id <team-id> --name "OpenPond Hosted App" --source-type internal_repo --internal-repo-path openpond-hosted-app-example --default-branch main
The CLI requires --team-id and --name. It currently defaults source-type
to manual and leaves defaultBranch and internalRepoPath unset, so the
command above supplies all three source fields explicitly. This avoids relying
on a guessed branch name or an implicit repository location. For a GitHub import,
the web interface reads the repository's actual default branch from the GitHub
installation.
Creating or updating a Project requires a role with Project-management access in the selected team.
4. Upload the local repository
Upload the cloned repository into the Project's internal Git repository:
openpond project source-upload <project-id> --team-id <team-id> --path . --branch main --commit-message "Upload OpenPond hosted app example"The upload command walks the Git-visible source, applies file-count and byte limits, and creates a Project commit from the accepted files. Its receipt includes the uploaded file count, byte count, branch, and resulting Project commit SHA.
Use that Project commit SHA for deployment. It may differ from the local Git SHA because the upload service creates its own bounded source snapshot. The Project commit, not the local working tree, is the authoritative deployment input.
Do not upload dependency caches, local build caches, credentials, or .env
files. The example's ignore rules exclude those files.
5. Develop in an OpenPond Sandbox
A Project can open an isolated Sandbox with the repository checked out. This is useful when the application needs a backend, migrations, or tools that should not run on a developer laptop. The Sandbox is a development environment, not the production website process: code is still published through an immutable release.
For a full-stack Next.js application, route handlers and server actions can be built into the runtime output. The resulting website release runs that serverless backend on demand while static files continue to be served at the edge. Browser code should call your application endpoints; it should never receive database credentials.
6. Attach the account PostgreSQL database when needed
Every OpenPond account includes one managed PostgreSQL database for its authorized Projects. OpenPond provisions it when you choose Connect database in account settings; “included” does not mean a database is silently created for a static site that does not use one.
The database has separate development and production branches:
- A Project-bound Sandbox receives the development connection as a server-side
DATABASE_URLbinding. - A website release that declares
requiredBindings.accountDatabase: truereceives the production binding in its runtime. - A
migrationCommandinopenpond.release.jsoncan run once before the first activation of that release. - Connection values are resolved from managed secret references and are not stored in the repository, release artifact, browser bundle, or deployment logs.
To convert this static example into a database-backed application, set
requiredBindings.accountDatabase to true, add the server-side database code
to the self-contained runtime output, and declare a migration command if the
release changes the schema. Keep all database access in route handlers, server
actions, or other server-only modules.
7. Set up the website
Open the Project in OpenPond, select Website, and choose Set up website.
OpenPond creates a website record linked to the Project and reserves an
openpond.live domain.
Website setup does not create a live release. The domain exists at this stage, but no application version receives traffic yet.
8. Deploy one exact commit
Open the Project's Deployments section. OpenPond reads
openpond.release.json from the selected Project commit before enabling the
deploy action. Choose Deploy commit.
The deployment pipeline then:
- Resolves and archives the exact Project commit.
- Starts an isolated release builder.
- Applies the declared dependency mode and runs the build command.
- Validates the static and runtime output directories.
- Archives the verified artifacts.
- Starts the server from the runtime artifact.
- Requests the readiness path on the declared port.
- Prepares the ready runtime for production traffic.
A failed stage leaves the release unavailable. Logs remain attached to that release, and a retry creates another deployment record rather than rewriting the failed one.
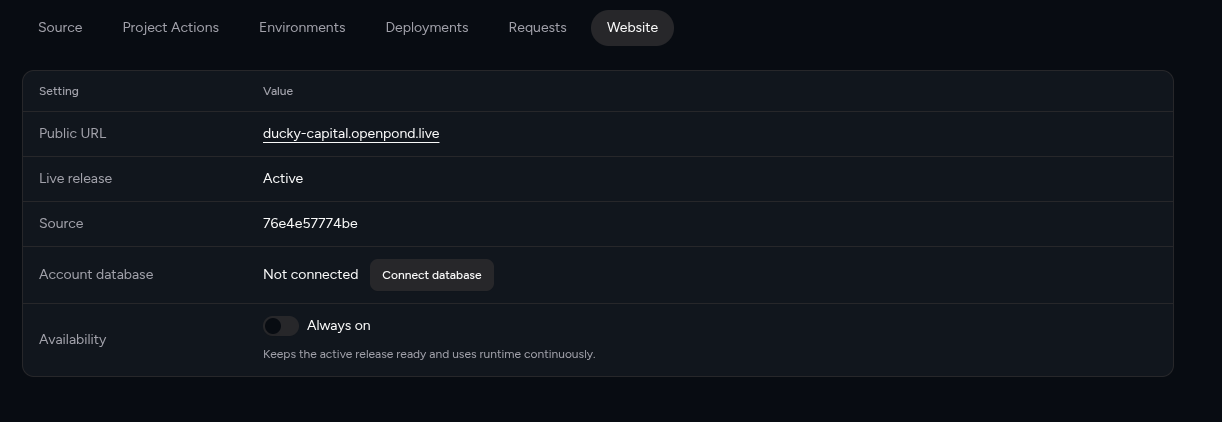
The same deployment interface during the Ducky Capital validation run; the public example uses the identical Project commit and release flow.
9. Activate the ready release
A successful build reaches Ready, but it is not live yet. Review the commit, output summary, readiness result, and deployment logs, then choose Make live.
Activation updates the website's active-release pointer. It does not rebuild or modify the artifact. A previous ready release can therefore be selected again without reconstructing it.
10. Verify the public result
Check the response from the assigned domain:
curl -I https://<your-site>.openpond.liveExpect 200 and an HTML content type. Then open the domain in a browser and
confirm the title, button, responsive layout, and static asset requests. If the
application has server-side endpoints, verify those separately and confirm that
no DATABASE_URL or other credential appears in browser source, network
responses, or client-side environment variables.
Why this workflow is reliable
Each stage answers a different operational question:
- Local checks: does the source compile and produce the declared output?
- Source upload: which exact files and Project commit did OpenPond receive?
- Sandbox development: does the application work in an isolated environment with development-only bindings?
- Deployment: did the builder validate and package that exact commit?
- Activation: which ready release currently receives production traffic?
- Verification: does the public domain serve the expected frontend and server-side behavior?
Keeping those questions separate makes failures local, retries auditable, and rollbacks based on immutable artifacts rather than reconstructed state.